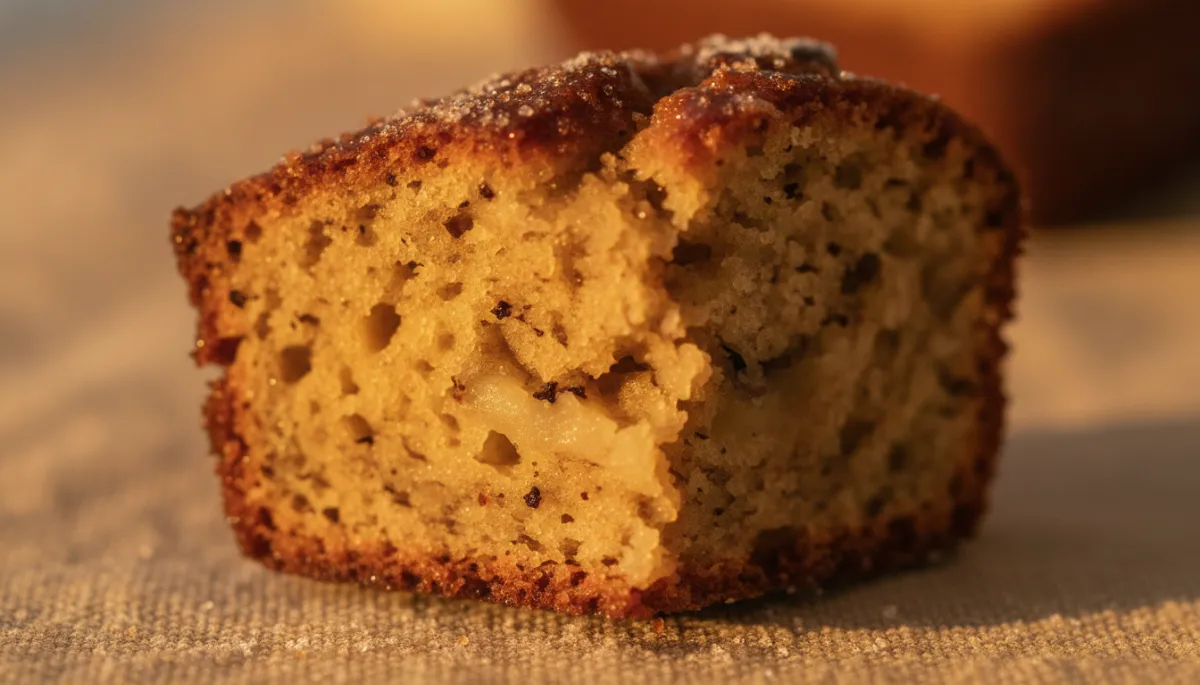
We have all experienced that heartbreaking baking moment. You peer through the oven door and see a beautifully domed, golden-brown loaf of banana bread. Your kitchen smells like a sweet, caramelized dream. But the second you take it out to cool, tragedy strikes—you watch helplessly as the gorgeous dome deflates, leaving a sad, gummy crater right in the middle of your loaf. If your banana bread keeps sinking in the center, you are not alone! As a professional food writer and lifelong baker, I'm here to unpack the science behind this frustrating kitchen fail and give you foolproof methods to guarantee a perfectly risen loaf every single time.
Recipe Video: Step-by-Step Tutorial
Watch this quick and easy video tutorial to see exactly how to mix your batter perfectly to avoid that dreaded sunken center!
The Main Culprits Behind a Collapsed Loaf
Baking is a delicate balance of chemistry. When a loaf sinks, it means the internal structure wasn't strong enough to support the weight of the bread as it cooled. Let's break down the most common reasons why this happens.
1. The Loaf is Underbaked
This is the number one reason for sunken banana bread. Quick breads are notoriously tricky because the outside looks dark and fully baked long before the dense, moist interior is actually done. If you pull it out too early, the raw batter in the center cannot hold up the crust, causing it to cave in.
2. Too Much Liquid (or Too Many Bananas!)
We all love extra moist banana bread, but adding more bananas than the recipe calls for is a recipe for disaster. Bananas add heavy moisture. If the ratio of wet ingredients to dry ingredients is off, the flour cannot absorb the liquid, resulting in a dense, heavy center that inevitably collapses.
3. Expired or Excessive Leavening Agents
Baking soda and baking powder are what make your bread rise. If you use too much, the bread will rapidly rise in the oven, stretch the gluten too far, and then collapse under its own weight. Conversely, if your baking soda is expired, the bread won't have enough lift to begin with.
Secret Chef Tips for a Perfect Rise
Want to bake like a pro? Keep these secret chef tips in your back pocket to ensure your banana bread stays beautifully domed.
Use an Oven Thermometer: Ovens are infamous for being inaccurate. Your oven might say it's 350°F, but it could actually be 325°F. An inexpensive oven thermometer ensures you are baking at the correct temperature, preventing underbaked centers.
Measure Flour by Weight: The most accurate way to measure flour is with a digital kitchen scale. If you don't have one, use the "spoon and level" method. Never scoop the measuring cup directly into the flour bag, as this packs the flour and leads to a dry, dense loaf that struggles to bake properly.
Check Internal Temperature: Forget the toothpick test! The ultimate secret to knowing when your banana bread is perfectly baked is using an instant-read meat thermometer. Insert it into the very center of the loaf; it should read between 200°F and 205°F (93°C - 96°C).
Detailed Step-by-Step Guide to Foolproof Banana Bread
Let's walk through the process of making a perfectly risen loaf of banana bread, ensuring we avoid all the common pitfalls.
Step 1: Prep Your Equipment
Start by preheating your oven to exactly 350°F (175°C). Prepare a standard 9x5-inch loaf pan by greasing it lightly. A 9x5 pan spreads the batter out just enough so that the center bakes evenly alongside the edges.
Step 2: Mash the Bananas
Take 3 large, heavily spotted brown bananas and mash them. Remember, stick to the recipe! If your bananas are abnormally massive, measure out exactly 1 cup to 1.25 cups of mashed banana to ensure you don't overload the batter with moisture.
Step 3: Combine Wet Ingredients
In a large bowl, whisk together your mashed bananas, 0.33 cup of melted (but slightly cooled) butter, 0.75 cup of granulated sugar, 1 room-temperature egg, and 1 teaspoon of vanilla extract. Room temperature eggs emulsify better, creating a stronger structure for your bread.
Step 4: Fold in Dry Ingredients Gently
Sprinkle 1 teaspoon of fresh baking soda and 0.25 teaspoon of salt over the wet mixture. Then, add 1.5 cups of all-purpose flour. Using a rubber spatula, gently fold the mixture together until just combined. Stop mixing the second you no longer see streaks of dry flour. Overmixing develops too much gluten, leading to a tough bread that rises poorly.
Step 5: Bake and Test
Pour the batter into your prepared pan and bake for 55 to 60 minutes. If the top is browning too quickly around the 45-minute mark, gently tent a piece of aluminum foil over the top. At 55 minutes, check the temperature with an instant-read thermometer.
Step 6: The Crucial Cooling Phase
Once the bread reaches 200°F internally, remove it from the oven. Let it cool in the pan for exactly 10 minutes to stabilize, then carefully turn it out onto a wire cooling rack. Cooling on a wire rack prevents the bottom from getting soggy.

Frequently Asked Questions (FAQ)
Can I eat sunken banana bread?
Yes, provided the center reaches an internal temperature of at least 200°F (93°C). However, if the collapse is due to severe underbaking, the gooey center contains raw flour and egg, which is unsafe to eat and should be discarded.
Can I put sunken banana bread back in the oven?
Unfortunately, once the bread has collapsed and begun cooling, putting it back in the oven won't fix the structure. You can bake it longer if you realize it's raw to ensure it's safe to eat, but the crater will permanently remain.
Does the size of my loaf pan matter?
Absolutely! Using an 8x4-inch pan instead of a 9x5-inch pan without adjusting the baking time often results in a loaf that is too thick in the middle. The extra thickness requires a longer baking time, often leading to underbaking in the center and eventual collapse.
Why did my bread sink while still in the oven?
If your bread collapses before you even take it out of the oven, it usually means you used too much baking soda or baking powder. The batter rose too quickly, weakened the structural integrity of the gluten, and collapsed.
Don't let a sunken center discourage your baking adventures! By understanding the delicate balance of moisture, leavening, and proper baking times, you are well on your way to bakery-worthy loaves. Grab those overripe bananas sitting on your counter and put these tips to the test. Happy baking, friends!
Warmly,
Sarah Baker