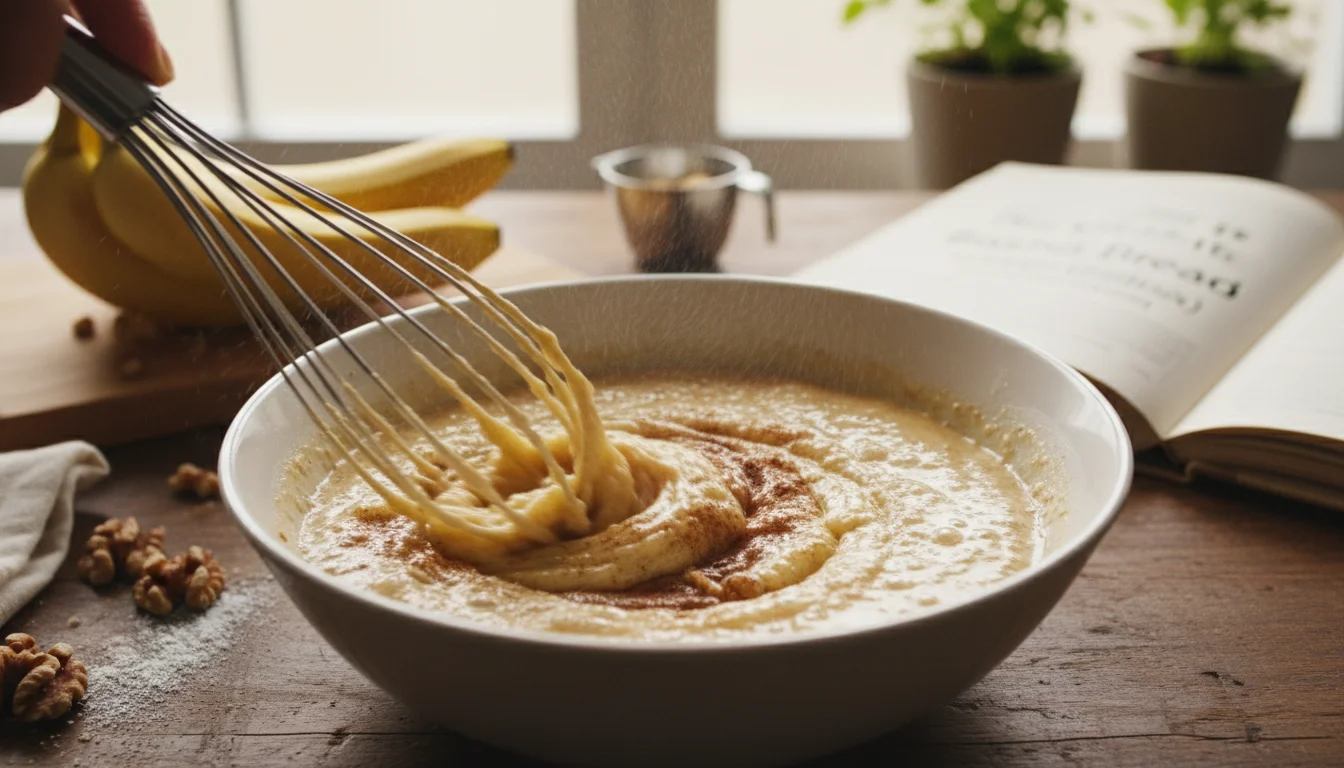
I still remember the kitchen humidity in the summer of 2002 when I finally cracked the code. I wasn't looking for just another quick bread; I was searching for a texture that defied the dry, crumbly norms of the time. The air smelled of caramelized molasses and toasted wheat, a sensory memory that defined the early days of my culinary career. This recipe isn't about complexity; it is about the precise chemical interaction between lipids, sugars, and degraded starches. It is the formulation that launched my obsession with the science of "moistness" in baking.
What makes this specific vintage so enduring is its refusal to compromise on the wet ingredients. We aren't making a cake here; we are constructing a dense, flavorful lattice of hydration that remains tender days after baking.
The Hygroscopic Chemistry of Nostalgia
To understand why this recipe works, we must look at the crumb structure under a microscope. Most dry banana breads suffer from a lack of hygroscopic agents—substances that attract and hold water molecules. In this formulation, we rely heavily on the interaction between the invert sugars found in the overripe bananas and the molasses content of the dark brown sugar.
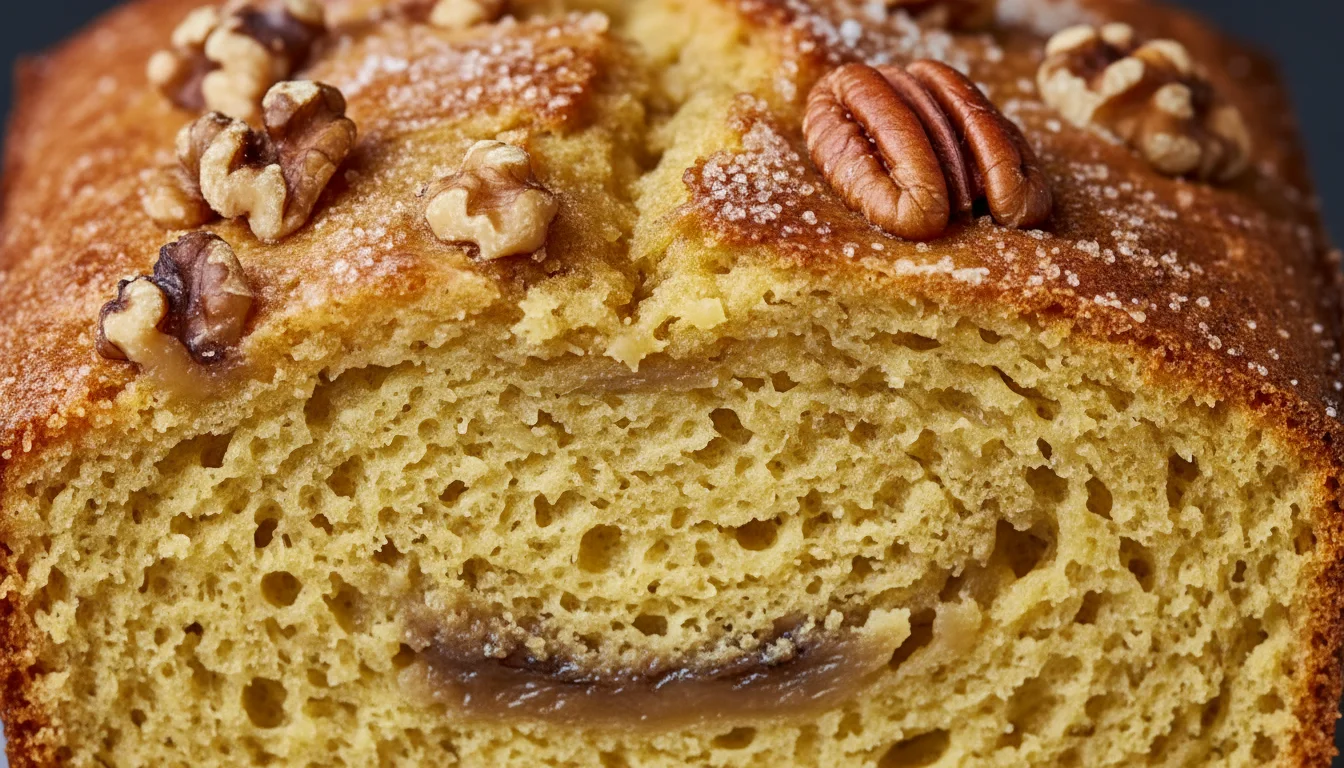
When these sugars dissolve during the baking process, they coat the flour proteins (gluten and gliadin). This coating limits gluten development, preventing the bread from becoming tough or rubbery. Instead, you achieve a "short" texture—culinary speak for tender and crumbly—while maintaining a high water content. The result is a heavy, satisfying slice that almost dissolves on the tongue, rather than requiring chewing.
Architectural Components of the 2002 Classic
The selection of ingredients for this recipe is not arbitrary; it is a carefully balanced equation.
- The Banana Ripeness Spectrum: You cannot use yellow bananas. You need fruit that has entered the senescent phase—skins covered in leopard spots or entirely black. At this stage, the starch-to-sugar conversion is near 100%, providing the essential liquidity needed to hydrate the flour without adding excess dairy.
- The Lipid Choice (Melted Butter): While creaming butter and sugar creates air pockets for a lighter cake, using melted butter creates a denser, fudgier crumb. It coats the flour particles more thoroughly, inhibiting gluten formation more aggressively than solid butter.
- The Leavening Agent: We use baking soda alone, not baking powder. Because the brown sugar and bananas are acidic, the sodium bicarbonate reacts immediately upon mixing and again with heat, providing just enough lift to keep the heavy batter from turning into a brick, without creating large air tunnels that dry out the loaf.
Diagnostic Matrix: Rectifying Common Crumb Failures
Even with a perfect recipe, environmental variables can affect the outcome. Here is a breakdown of common structural failures and their scientific solutions.
| Issue | Root Cause Analysis | Corrective Action |
|---|---|---|
| The "Saddle" (Sunken Center) | Under-baking or excessive leavening causing structural collapse before protein coagulation. | Check internal temp reaches 200°F (93°C). Ensure baking soda is leveled, not heaped. |
| Gummy / Rubber Texture | Over-development of gluten networks due to excessive mechanical agitation (overmixing). | Switch to a spatula for the final fold. Stop exactly when flour streaks vanish. |
| Burnt Bottom / Raw Center | Dark metal pans absorbing heat too rapidly or oven calibration error. | Use light-colored aluminum pans or place a baking sheet on the rack below to deflect radiant heat. |
| Dry, Friable Crumb | Low hydration ratio (bananas were not ripe enough) or flour over-measurement. | Weigh flour (120g per cup) rather than scooping. Ensure bananas are mostly black. |
Protocol 2002: Advanced Culinary Techniques
To elevate this humble loaf to a world-class pastry standard, follow these procedural nuances that I have refined over two decades.
- The Pre-Mash Oxidation: Don't just mash the bananas; let them sit in the bowl for 10 minutes after mashing. The slight oxidation deepens the flavor profile, adding notes of caramel and vanilla before they even hit the oven.
- The Flour Aeration: If you scoop flour directly from the bag, you are compacting it, potentially adding up to 25% more mass than intended. Always fluff the flour, spoon it into the cup, and level it off.
- The "Tent" Technique: Because of the high sugar content, the top will brown before the center cooks. At the 40-minute mark, tent a piece of aluminum foil loosely over the loaf. This reflects radiant heat while allowing convection heat to continue cooking the interior.
- Maturation Period: This is the hardest rule to follow. Do not eat the bread immediately. Banana bread is one of the few baked goods where flavor compounds migrate and harmonize over time. Wrap the cooled loaf in plastic wrap and wait 12 hours. The moisture redistribution makes the second day significantly better than the first.
- Variable Texture Mashing: Don't purée the bananas completely. Leave small lumps. These lumps create pockets of pure fruit custard within the baked crumb, providing bursts of intense flavor and moisture.