The Fluffiest Vegan Banana Bread (Egg-Free)
Master the art of egg-free baking with this scientifically perfected vegan banana bread. Soft, moist, and impossibly fluffy—no flax eggs required.
For years, the culinary world held a prejudice against vegan baking, assuming that without the structural integrity of eggs, a quick bread was destined to be dense, gummy, or flat. I have spent countless hours in the test kitchen proving this wrong. The scent of caramelized bananas and warming cinnamon wafting through a kitchen is a universal language of comfort, and I firmly believe that achieving the perfect “squish”—that elastic, moist spring-back when you press a slice—is entirely possible without animal proteins.
This isn’t just a substitution game; it is an exercise in chemistry. By manipulating hydration levels and understanding the enzymatic breakdown of the fruit, we can create a loaf that rivals, and often surpasses, its traditional counterparts.
The Physics of the Crumb: Achieving Lift Without Eggs
The primary challenge in egg-free baking is replacing the two functions of an egg: structure (coagulation) and lift (leavening). In traditional recipes, egg proteins set as they heat, trapping air bubbles. To replicate this “fluffiness” in a plant-based environment, we rely on a specific interaction between starches and acids.

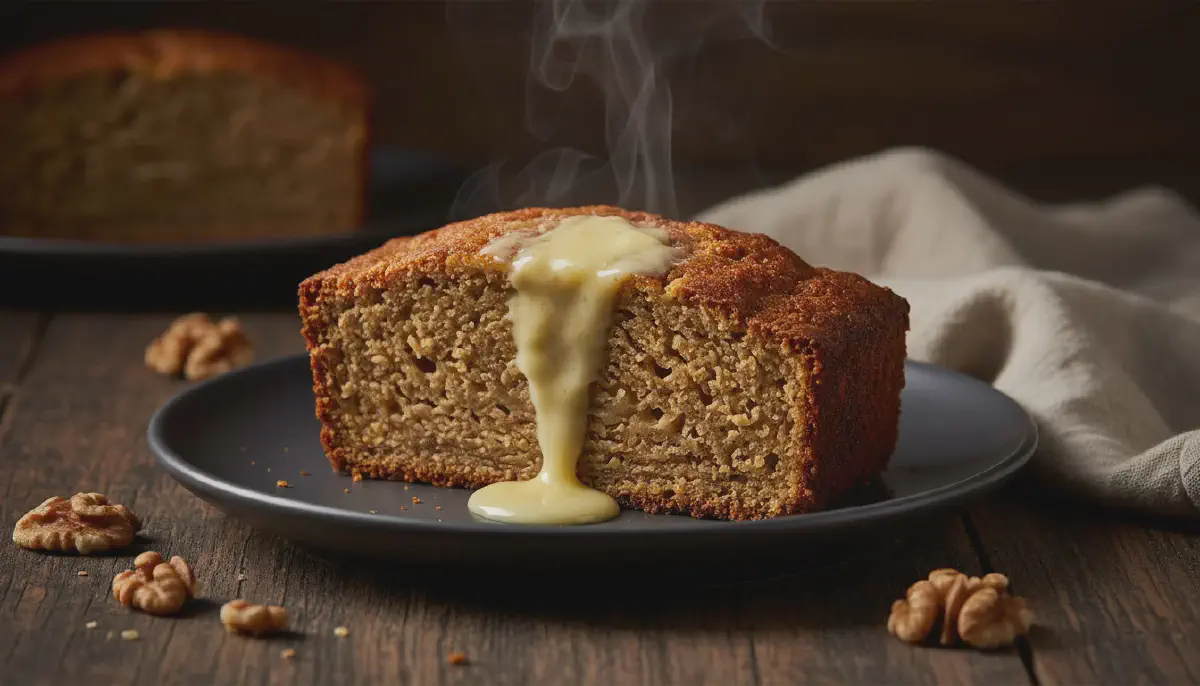
We utilize a “vegan buttermilk” created by curdling soy milk with apple cider vinegar. This acidity reacts aggressively with the baking soda, creating carbon dioxide bubbles that expand rapidly in the oven. Furthermore, we rely on the pectin naturally present in the bananas. As the bananas ripen and the starches convert to sugar, the pectin structure changes, allowing it to act as a binder that holds moisture while still permitting the batter to rise. The result, as seen above, is an open, airy crumb that melts on the tongue rather than sticking to the roof of your mouth.
Architectural Integrity: Ingredient Selection Strategy
To build a recipe that stands up to scrutiny, every ingredient must justify its existence.
- The Lipid Choice: I strictly recommend a neutral oil (like sunflower or grapeseed) over melted vegan butter or coconut oil. Oil remains liquid at room temperature, coating the flour proteins and preventing them from bonding too tightly. This ensures the crumb stays tender for days. Coconut oil can make the bread heavy and dense once it cools and solidifies.
- The Sweetener Duo: We use a blend of brown and white sugar. Brown sugar contains molasses, which is acidic (aiding the baking soda rise) and hygroscopic (attracting moisture from the air to keep the bread soft). The white cane sugar is strictly for the crust, helping to create that slightly crisp, golden top that contrasts beautifully with the soft interior.
- The Banana Variable: The bananas must be heavily spotted, bordering on black. At this stage, the starch-to-sugar conversion is at its peak. Green or yellow bananas have too much resistant starch, which absorbs moisture and leads to a dry, chalky loaf.
Diagnosing the Loaf: A Clinical Approach
Even with a perfect recipe, environmental variables can impact the outcome. Use this troubleshooting guide to identify and correct texture anomalies.
| Issue | Root Cause | The Scientific Fix |
|---|---|---|
| The “Gummy” Bottom | Excessive moisture or under-baking. | Your bananas may have been too large. Measure mashed banana by volume (1.5 cups), not by count. Alternatively, tent with foil and bake 10 mins longer. |
| The “Crater” Effect | Opening the oven door too early. | The internal structure hasn’t set. Never open the oven before the 45-minute mark. The rush of cold air collapses the CO2 bubbles. |
| Tough / Chewy Texture | Over-development of gluten. | You mixed too vigorously after adding flour. Stir only until the flour streaks vanish. Lumps are acceptable and desirable. |
| Burnt Outside, Raw Inside | Oven calibration off or too hot. | Your oven may run hot. Invest in an oven thermometer. If browning too fast, reduce temp to 325°F (165°C) and extend time. |
| Flat / Dense Loaf | Expired leavening agents. | Baking soda loses potency over time. Test it: drop a pinch in vinegar. If it doesn’t fizz violently, buy a new box. |
Protocol for Perfection: Pro Techniques
To elevate your banana bread from “homemade” to “bakery-quality,” adhere to these five technical principles.
- The Mashing Gradient: As shown in the image, do not puree your bananas into a smooth baby food consistency. Leave small chunks. These chunks create pockets of intense banana custard within the baked bread, offering textural variety.
- The “Bloom” Technique: Add your cinnamon and vanilla to the wet mixture, not the dry. Fat (oil) carries flavor better than flour. Mixing the spices with the oil allows the flavor compounds to bloom and distribute more evenly.
- Hydration Resting: Once you have mixed the wet and dry ingredients, let the batter sit in the bowl for 5 minutes before pouring it into the pan. This allows the flour to fully hydrate and the baking powder to begin its initial reaction, leading to a better dome.
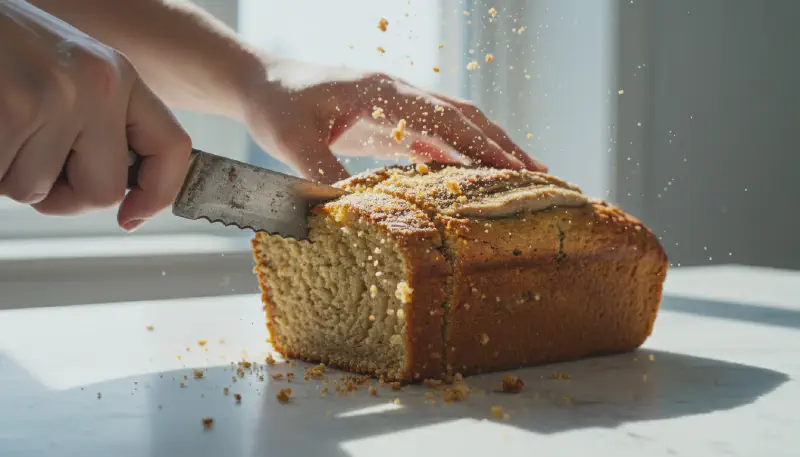
- The Center Slash: For that professional “split” down the middle, run a knife dipped in oil down the center of the raw batter just before putting it in the oven. This guides the expansion of the loaf, controlling where it cracks.
- Thermal Shock Prevention: Never cool the bread in the pan completely. The residual heat will steam the bottom of the loaf, making it soggy. Remove it after exactly 10 minutes to a wire rack to ensure airflow around the entire crust.
The Fluffiest Vegan Banana Bread (Egg-Free)
Ingredients
Instructions
- The Acidulation Phase: Preheat your oven to 350°F (175°C). Grease a standard 9x5 inch loaf pan or line it with parchment paper. In a small glass, combine the soy milk and apple cider vinegar. Let this sit for 5-10 minutes to curdle into a vegan buttermilk.
- The Emulsification: In a large mixing bowl, mash the bananas until nearly liquid but retaining small chunks for texture. Whisk in the oil, brown sugar, cane sugar, vanilla, and the prepared curdled milk mixture. Whisk vigorously until the oil and water components are fully emulsified.
- The Dry Incorporation: Sift the flour, baking soda, baking powder, cinnamon, and salt directly over the wet ingredients. This aeration step is crucial for fluffiness.
- The Folding Method: Switch to a silicone spatula. Gently fold the dry ingredients into the wet. Stop exactly when the flour streaks disappear. Do not overmix, or you will develop gluten and create a rubbery loaf.
- The Thermal Rise: Pour the batter into the prepared loaf pan. Bake on the center rack for 55-65 minutes. The bread is done when a toothpick inserted into the center comes out with a few moist crumbs, but no wet batter. Let cool in the pan for 10 minutes before transferring to a wire rack.
Nutrition
Calories: 245 kcal | Protein: 4g | Fat: 9g | Sugar: 18g