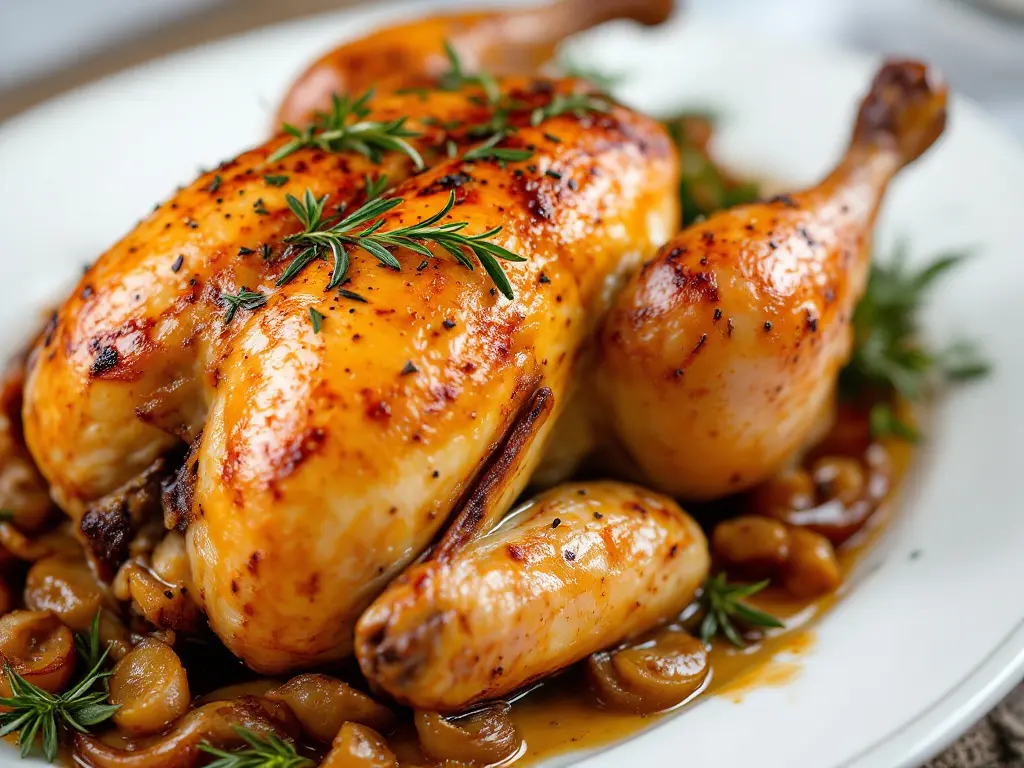
Have you ever wondered why some roast chickens turn out perfectly juicy while others end up dry and disappointing? The secret lies in understanding the science of moisture retention and proper cooking techniques. In this comprehensive guide, we’ll reveal all the professional secrets to achieving that perfect, succulent roast chicken every single time. For a complete step-by-step recipe, check out our detailed guide to making the perfect roast chicken.
Understanding the Science of Moisture
Before diving into techniques, it’s crucial to understand why chicken loses moisture during cooking. When muscle fibers are heated, they contract and squeeze out water molecules. This process accelerates as temperatures rise, which is why precise temperature control is vital for maintaining juiciness.
Pre-Cooking Preparation: The Foundation of Juiciness
1. Brining: Your Secret Weapon
The single most effective technique for ensuring juicy meat is brining. Here’s why it works:
- Osmosis draws water and salt into the meat fibers
- Salt helps proteins retain water during cooking
- Brining adds approximately 10% more moisture to your chicken
Basic Brine Formula:
- 1 gallon cold water
- 1 cup kosher salt
- ½ cup sugar (optional)
- Aromatics of choice (garlic, herbs, citrus)
2. Temperature Management:
Room temperature chicken cooks more evenly than cold chicken. Remove your bird from the refrigerator 30-60 minutes before cooking. If you’re interested in exploring different marinades that can enhance juiciness, explore our guide to signature chicken marinades.
Critical Cooking Techniques
1. The High-Heat Method
Starting with high heat (450°F/230°C) creates a moisture-sealing crust. After 15 minutes, reduce temperature to 350°F/175°C for even cooking.
2. Proper Positioning
- Use a roasting rack to elevate the chicken
- Ensure air circulation around the entire bird
- Position breast-side up initially
The Butter Technique
Creating a compound butter with herbs and garlic to place under the skin provides:
- Additional moisture during cooking
- Enhanced flavor penetration
- Protection for the breast meat
Temperature Monitoring: The Key to Success
Invest in a good meat thermometer and follow these guidelines:
- Breast meat: 165°F (74°C)
- Thigh meat: 170-175°F (77-79°C)
- Check multiple points without touching bone
Resting Period: The Final Critical Step
Always allow your chicken to rest for 15-20 minutes after cooking. This allows:
- Juice redistribution throughout the meat
- Temperature equalization
- Easier carving
Common Moisture-Loss Mistakes to Avoid
Be aware of these common pitfalls that can lead to dry chicken. For a complete list of potential issues, visit our guide on common roasting mistakes to avoid.
Advanced Techniques for Extra Juiciness
1. Spatchcocking
This technique involves removing the backbone and flattening the chicken, resulting in:
- More even cooking
- Reduced cooking time
- Better moisture retention
2. Dry Brining
An alternative to wet brining that involves salting the chicken 24 hours in advance, allowing for:
- Deep flavor penetration
- Improved moisture retention
- Crispier skin
The Role of Quality Ingredients
Your results will only be as good as your starting ingredients. Learn more about selecting the perfect bird in our guide on choosing the best chicken for roasting.
Serving Your Juicy Roast Chicken
Complete your perfect roast chicken dinner with our selection of complementary side dishes that pair perfectly with your juicy creation.
FAQ: Troubleshooting Moisture Issues
Q: Why is my chicken always dry?
Common causes include:
- Overcooking
- Skipping the brining process
- Not allowing the chicken to rest
- Using too high a cooking temperature
Conclusion :
Achieving a juicy roast chicken consistently is a combination of science, technique, and patience. By following these guidelines and understanding the principles behind moisture retention, you’ll be able to create perfectly juicy roast chicken every time you cook.
