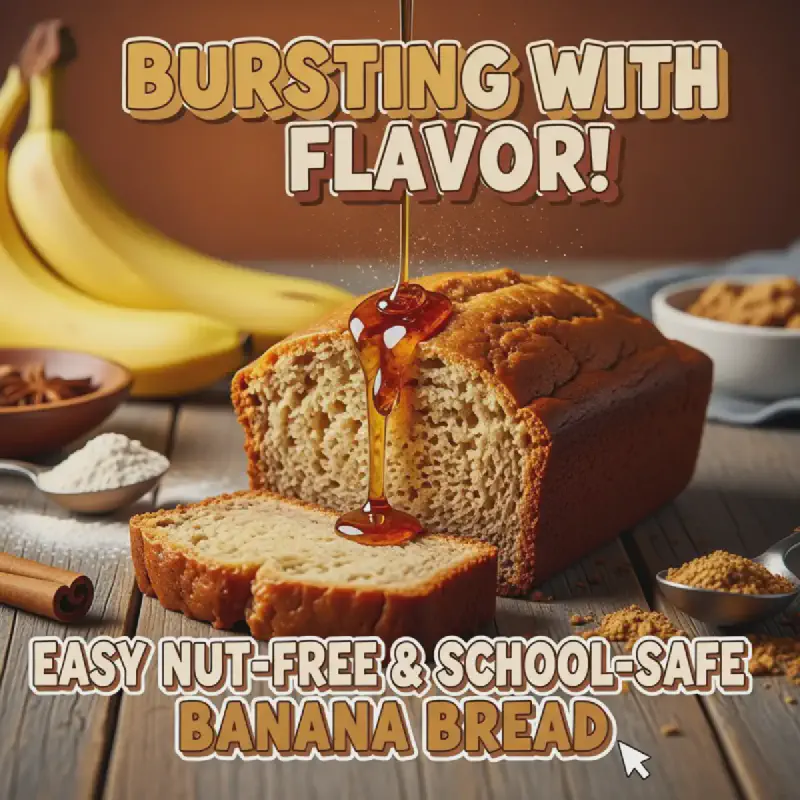
Nut-Free & School-Safe Banana Bread
Discover the ultimate nut-free and school-safe banana bread recipe that's moist, fluffy, and perfect for lunchboxes! Easy to make and bursting with natural banana flavor, it's an allergy-friendly treat kids and adults will adore. Say goodbye to nut worries and hello to delicious baking!
As a parent, few things bring more joy than sending your child off to school with a lunchbox packed with love – and delicious, homemade treats. But navigating school allergy policies, especially those concerning nuts, can often feel like a culinary tightrope walk. Fear not, fellow food enthusiasts and busy parents! Today, we’re diving into the ultimate solution: a delightful, incredibly moist, and utterly irresistible Nut-Free & School-Safe Banana Bread recipe that ensures every bite is pure joy, free from worry. Get ready to become the hero of snack time, delivering a wholesome, homemade delight that everyone can enjoy safely.
Nut-Free & School-Safe Banana Bread
Ingredients
Instructions
- Prepare & Preheat: Preheat your oven to 350°F (175°C). Grease and flour a 9x5 inch loaf pan, or line with parchment paper for easy removal. Ensure all your ingredients are at room temperature for best results in consistency and mixing.
- Mash Bananas: In a large mixing bowl, thoroughly mash the very ripe bananas with a fork or potato masher until mostly smooth, leaving a few small lumps for texture if desired. The riper the bananas, the sweeter and more flavorful your bread will be.
- Combine Wet Ingredients: Add the melted butter, lightly beaten egg, vanilla extract, and milk to the mashed bananas. Stir gently with a whisk or spatula until all the wet ingredients are well combined. This forms the moist, rich base of your banana bread.
- Mix Dry Ingredients: In a separate medium bowl, whisk together the all-purpose flour, baking soda, salt, granulated sugar, and packed light brown sugar. Whisk well to ensure even distribution of the leavening agents and sugars, breaking up any brown sugar clumps.
- Combine Wet & Dry: Gradually add the dry ingredient mixture to the wet banana mixture, stirring gently with a spatula until just combined. Be careful not to overmix, as this can develop the gluten and lead to a tough banana bread. A few streaks of flour are perfectly acceptable.
- Bake to Perfection: Pour the batter evenly into your prepared loaf pan. Bake for 55-65 minutes, or until a wooden skewer or toothpick inserted into the center of the loaf comes out clean. If the top begins to brown too quickly, you can loosely tent it with aluminum foil during the last 15-20 minutes of baking.
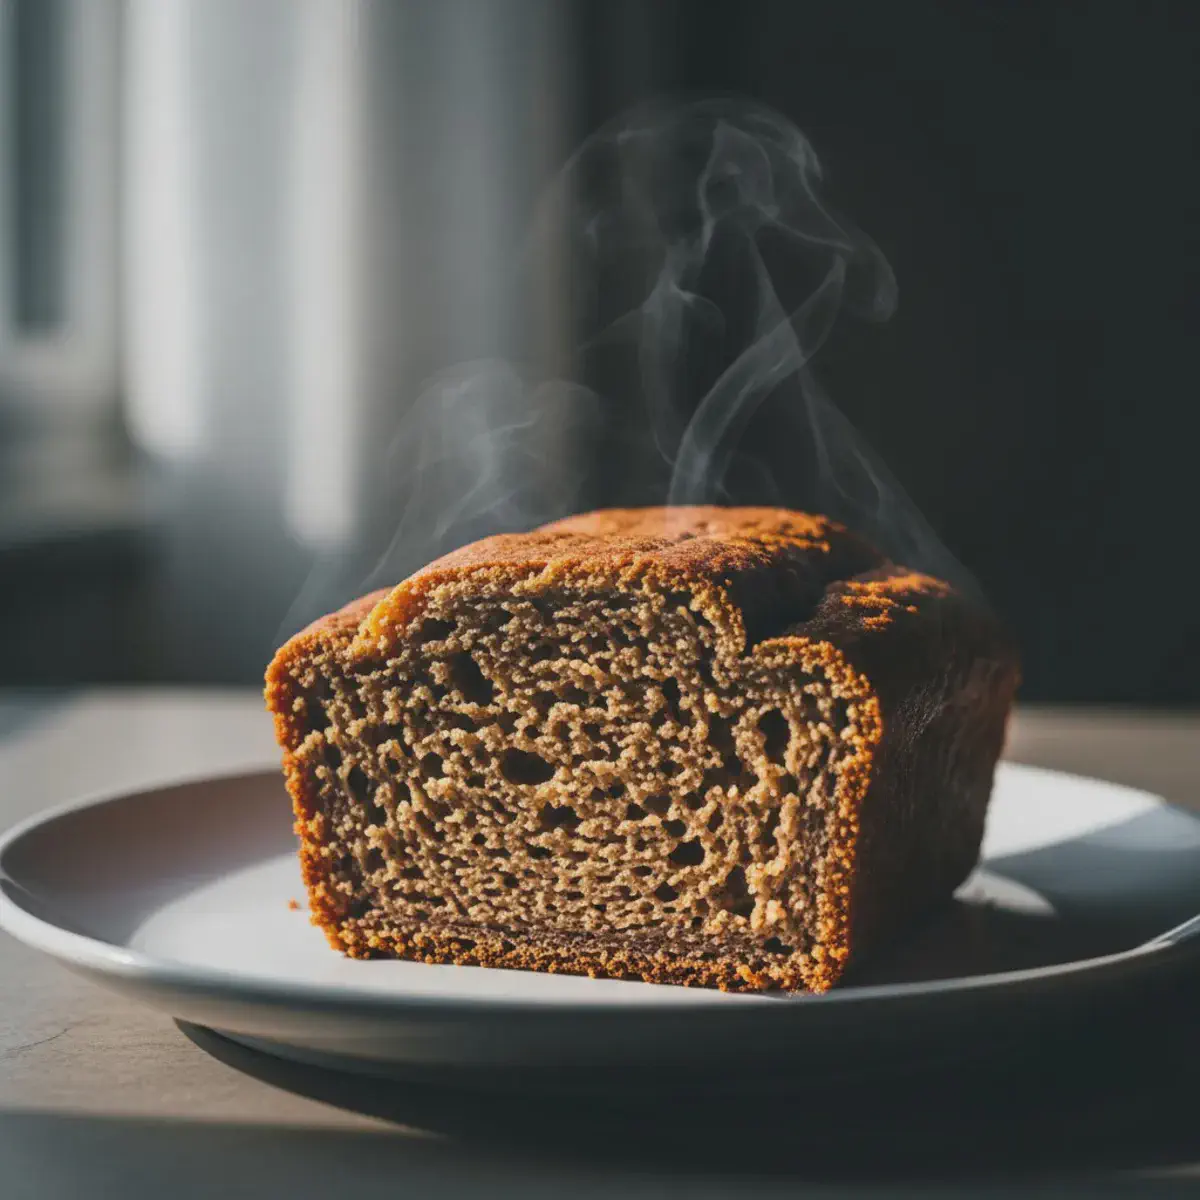
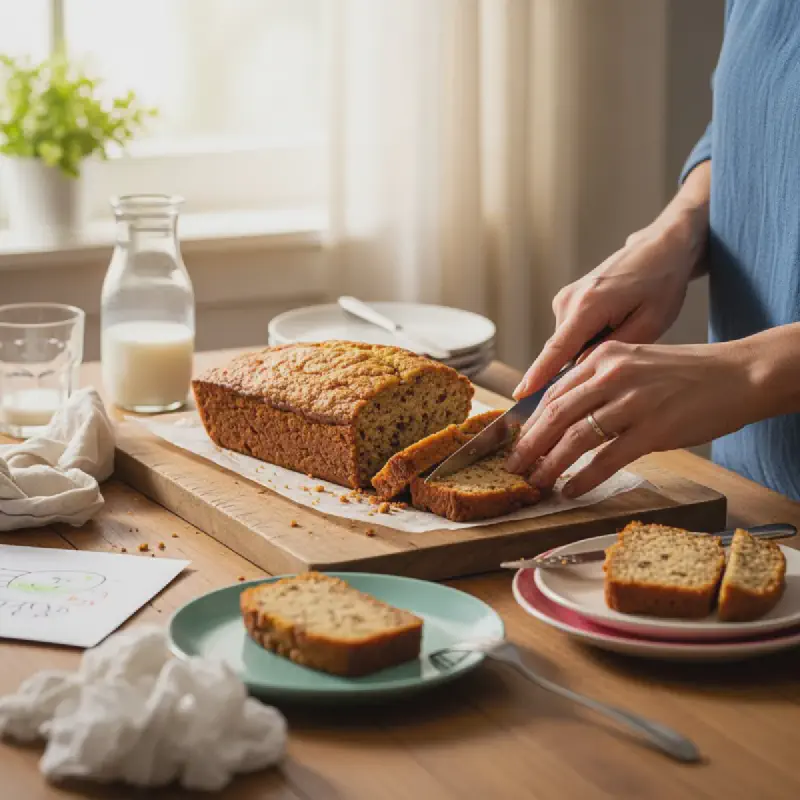
- Cool & Serve: Once baked, remove the banana bread from the oven and let it cool in the pan for 10-15 minutes. This allows it to set properly. Then, carefully transfer it to a wire rack to cool completely before slicing and serving. Cooling completely prevents sogginess and makes for clean slices. Enjoy your delicious, school-safe treat!
The Allergy-Friendly Solution You’ve Been Waiting For
In an increasingly allergy-aware world, finding snacks that cater to everyone, especially in a school setting, is paramount. My goal with this recipe was simple: create a banana bread so flavorful and satisfying that no one would ever guess it’s specifically designed to be nut-free. This isn’t just about safety; it’s about crafting a treat that stands on its own merit, delivering comfort and deliciousness in every tender crumb.
Why Nut-Free Banana Bread is a Game Changer
For many families, nut allergies are a serious concern. A single trace of a nut can trigger a severe reaction, making packed lunches a source of anxiety. This recipe eliminates that worry, offering peace of mind alongside a beloved classic. It’s perfect for school potlucks, bake sales, or simply as an everyday snack that you know is safe for your child and their friends. No more labels to scrutinize, just pure, wholesome goodness.
Gather Your Ingredients: What You’ll Need
Crafting this perfect loaf begins with selecting the right ingredients. The star, of course, is the banana – the riper, the better! Those freckled, almost-black bananas sitting on your counter are not past their prime; they’re perfectly ripe for banana bread, delivering maximum sweetness and moisture.
We use common pantry staples, all carefully chosen to ensure a nut-free environment. Always double-check labels on ingredients like flour, chocolate chips (if adding), and baking powder to confirm they haven’t been processed in facilities that also handle nuts, especially if a severe allergy is a concern.
Baking Bliss: Step-by-Step Guide to Perfect Nut-Free Banana Bread
Follow these simple steps, as detailed in the recipe card above, to create a loaf that’s golden brown, beautifully domed, and incredibly moist on the inside. Each stage is designed for ease and ensures a perfect outcome, whether you’re a seasoned baker or just starting out.
Secret Chef Tips for Ultimate Banana Bread
- Don’t Overmix! This is the golden rule for moist banana bread. Overmixing develops the gluten in the flour, leading to a tougher texture. Mix until just combined – a few lumps are perfectly fine and even desirable!
- Room Temperature Ingredients: Ensure your egg and milk (if using) are at room temperature. This helps them incorporate more smoothly into the batter, leading to a more uniform and tender crumb.
- The Aluminum Foil Trick: If your banana bread starts to brown too quickly on top before the center is cooked, loosely tent the loaf pan with aluminum foil for the last 15-20 minutes of baking. This protects the crust while allowing the interior to finish cooking.
- Cool Completely: While it’s tempting to dive right in, letting the bread cool completely on a wire rack allows the internal structure to set and prevents it from becoming gummy or falling apart when sliced. Patience truly pays off here!
- Enhance the Banana Flavor: For an extra punch of banana goodness, you can roast your ripe bananas in their peels on a baking sheet at 300°F (150°C) for 15-20 minutes until they turn black and soft. Let them cool before mashing for an intensified banana flavor.
Frequently Asked Questions (FAQ)
Why is it important for banana bread to be nut-free for schools?
Many schools enforce strict ’nut-free’ policies due to the prevalence and severity of nut allergies among students. Providing nut-free options ensures a safe and inclusive environment for all children, preventing accidental exposure to allergens that can cause serious, even life-threatening, reactions. This recipe offers a delicious way to comply with these essential guidelines.
Can I make this banana bread gluten-free?
Yes, you can absolutely adapt this recipe to be gluten-free! Simply substitute the all-purpose flour with a high-quality 1:1 gluten-free baking flour blend that already contains xanthan gum. The rest of the recipe should work seamlessly, though it’s always wise to check your specific GF flour brand for any unique recommendations they might have regarding liquid ratios or baking times.
What’s the best way to store nut-free banana bread to keep it fresh?
To keep your homemade banana bread wonderfully fresh and moist, store it at room temperature in an airtight container or wrapped tightly in plastic wrap. It will stay delicious for up to 3-4 days. For longer enjoyment, individual slices or the entire loaf can be well-wrapped in plastic wrap then foil, and frozen for up to 3 months. Thaw at room temperature before serving.
Can I add other ingredients to this nut-free recipe?
Absolutely! For school-safe additions, consider stirring in chocolate chips (always double-check for nut-free certification on the packaging), shredded unsweetened coconut, or a swirl of cinnamon sugar into the batter before baking. These additions can enhance flavor and texture without introducing common allergens. Just be mindful of any other potential allergies if you’re baking for a school with broader dietary restrictions.
Your Go-To School-Safe Treat
There you have it – a truly delicious, incredibly moist, and utterly worry-free Nut-Free & School-Safe Banana Bread. This recipe isn’t just about avoiding allergens; it’s about bringing joy and comfort to every lunchbox and snack time moment. So go ahead, bake a loaf (or two!), fill your home with the sweet aroma of baking, and share a safe, homemade treat that everyone can savor. Happy baking!
Warmly, Sarah Baker World-Class SEO Food Writer
Nut-Free & School-Safe Banana Bread
Ingredients
Instructions
- Prepare & Preheat: Preheat your oven to 350°F (175°C). Grease and flour a 9x5 inch loaf pan, or line with parchment paper for easy removal. Ensure all your ingredients are at room temperature for best results in consistency and mixing.
- Mash Bananas: In a large mixing bowl, thoroughly mash the very ripe bananas with a fork or potato masher until mostly smooth, leaving a few small lumps for texture if desired. The riper the bananas, the sweeter and more flavorful your bread will be.
- Combine Wet Ingredients: Add the melted butter, lightly beaten egg, vanilla extract, and milk to the mashed bananas. Stir gently with a whisk or spatula until all the wet ingredients are well combined. This forms the moist, rich base of your banana bread.
- Mix Dry Ingredients: In a separate medium bowl, whisk together the all-purpose flour, baking soda, salt, granulated sugar, and packed light brown sugar. Whisk well to ensure even distribution of the leavening agents and sugars, breaking up any brown sugar clumps.
- Combine Wet & Dry: Gradually add the dry ingredient mixture to the wet banana mixture, stirring gently with a spatula until just combined. Be careful not to overmix, as this can develop the gluten and lead to a tough banana bread. A few streaks of flour are perfectly acceptable.
- Bake to Perfection: Pour the batter evenly into your prepared loaf pan. Bake for 55-65 minutes, or until a wooden skewer or toothpick inserted into the center of the loaf comes out clean. If the top begins to brown too quickly, you can loosely tent it with aluminum foil during the last 15-20 minutes of baking.
- Cool & Serve: Once baked, remove the banana bread from the oven and let it cool in the pan for 10-15 minutes. This allows it to set properly. Then, carefully transfer it to a wire rack to cool completely before slicing and serving. Cooling completely prevents sogginess and makes for clean slices. Enjoy your delicious, school-safe treat!
Nutrition
Calories: 280 kcal | Protein: 4 g | Fat: 11 g | Sugar: 22 g