Classic Grandma’s Banana Bread: The Secret to Infinite Moisture
Unlock the science behind the ultimate nostalgia bake. This old-fashioned banana bread is dense, buttery, and scientifically optimized for a tender crumb that stays moist for days.
There is a specific alchemy that happens when spotted, browning bananas meet melted butter. It isn’t just baking; it is a form of edible time travel. We all remember “Grandma’s” recipe, but as a culinary scientist, I’ve spent years analyzing exactly why those old-fashioned index cards produced such superior results compared to modern, complex iterations.
The secret doesn’t lie in a fancy new appliance or an exotic ingredient. It lies in the chemical relationship between the enzymatic breakdown of the fruit and the fat structure of the batter. This isn’t just a recipe; it is a masterclass in moisture retention and the “quick bread” method. Let’s decode the nostalgia and bake the perfect loaf.
The Chemistry of Comfort: Why This Crumb Stays Moist
Most home bakers think banana bread is about the flavor, but it is actually an engineering challenge of density versus lift. The “moistness” we crave is technically defined by the water activity and fat dispersion within the crumb.

In this classic recipe, we utilize melted butter rather than creamed butter. Why? When you cream butter and sugar, you introduce air, creating a cake-like, fluffy texture. By using melted butter, we coat the flour proteins (gluten and gliadin) more thoroughly. This inhibits strong gluten networks from forming. The result is that heavy, dense, ultra-tender crumb that defines an “old-fashioned” loaf.
Furthermore, the high pH of the baking soda reacts specifically with the acidity of the ripe bananas. This reaction produces carbon dioxide for lift, but also encourages the Maillard reaction—that deep, dark brown crust that tastes like caramelized heaven.
Pantry Alchemy: Selecting Your Players
To achieve the “Grandma” standard, ingredient selection must be intentional.
- The Bananas: This is non-negotiable. Yellow bananas are starch; black bananas are sugar. As a banana ripens, amylase enzymes break down starch into fructose and glucose. You want bananas that are at least 50% brown spots. If they are black and squishy, even better—they act as a natural liquefier.
- The Flour: Standard All-Purpose flour (10-11% protein) is ideal. Bread flour will make it rubbery; cake flour will make it crumble.
- The Fat: We use butter for flavor. While oil creates a technically “moister” loaf (because oil is liquid at room temperature), butter provides the distinct dairy solids that brown during baking, adding nutty notes that oil simply cannot replicate.
The Loaf Rescue Guide: Diagnosing Common Pitfalls
Even with a classic recipe, variables like humidity and oven calibration can affect the outcome. Here is your scientific troubleshooting guide.
| The Issue | The Scientific Cause | The Fix |
|---|---|---|
| Gummy Streak at Bottom | “Dense Layering.” The batter sat too long before baking, or the loaf cooled in the pan. | Bake immediately after mixing. Remove from pan after 10 mins cooling. |
| Cracked Top | Rapid expansion. The crust set before the interior finished rising. | This is actually desirable in banana bread! It indicates a good rise. |
| Sinking Center | Under-baking or over-leavening. The structure collapsed before protein coagulation. | Check internal temp (200°F/93°C). Ensure baking soda isn’t expired. |
| Tough / Chewy Texture | Over-developed gluten. | Stop mixing the second you see the last streak of flour disappear. |
From Grandmother’s Kitchen to Professional Bakery: 3 Rules
If you want to take this recipe from “great” to “world-class,” follow these three rules from my professional vault.
1. The “Pre-Mash” Oxidation: Don’t just mash the bananas and throw them in. Mash them and let them sit in the bowl for 15 minutes before mixing. The exposure to oxygen darkens the pulp and intensifies the flavor profile, giving you a deeper, richer colored bread.
2. The Folding Technique: When adding the dry ingredients to the wet, do not use a whisk. Use a silicone spatula and use the “J” motion—cut down the middle, sweep the bottom, and fold over. Do this fewer than 15 times. Lumps are your friend here.
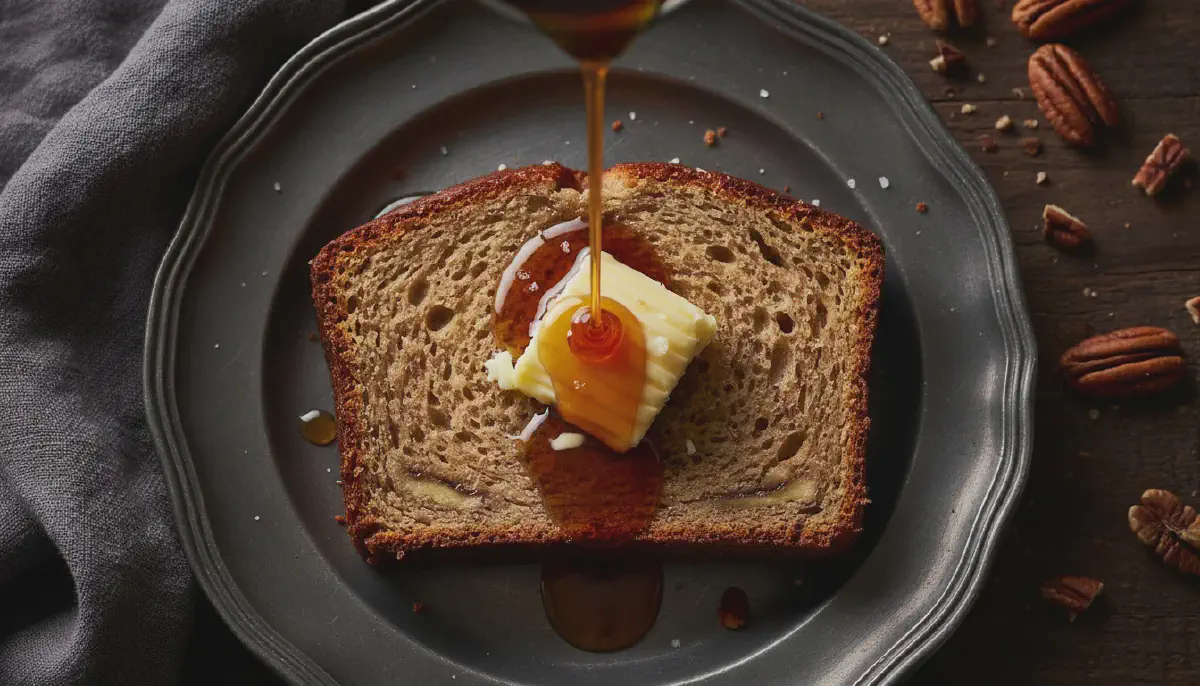
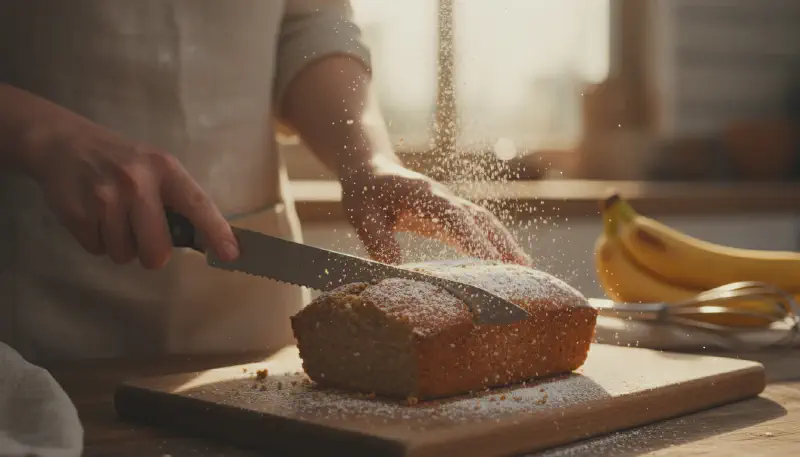
3. The Patience Protocol: This is the hardest rule. Do not cut the bread until it is completely cool. While hot, the starch molecules are still setting. Cutting it releases steam—which is moisture escaping your bread. If you cut it hot, you are actively drying it out. For the absolute best flavor, wrap the cooled loaf and wait 24 hours; the moisture migrates outward, softening the crust and melding the flavors.
Classic Grandma’s Banana Bread: The Secret to Infinite Moisture
Ingredients
Instructions
- The Prep: Preheat your oven to 350°F (175°C). Grease a 9x5-inch loaf pan with butter and lightly dust with flour, or line it with parchment paper for easy removal.
- The Mash: In a mixing bowl, mash the bananas until smooth but slightly chunky. Stir in the melted butter until fully incorporated.
- The Wet Mix: Whisk in the sugar, beaten eggs, vanilla, and salt. Ensure the mixture is uniform—this creates the emulsion base.
- The Dry Fold: Sift the baking soda and flour over the wet mixture. Switch to a spatula and gently fold the ingredients together. Stop exactly when the flour streaks disappear to prevent gluten development.
- The Bake: Pour batter into the prepared tin. Bake for 55–65 minutes. A toothpick inserted into the center should come out clean or with just a few moist crumbs attached.
Nutrition
Calories: 285 kcal | Protein: 4g | Fat: 12g | Sugar: 18g